Luster Dust: The Complete Guide to Safe, Stunning Cake Decoration
Published on October 31, 2026
What Is Luster Dust and Why Does It Matter?
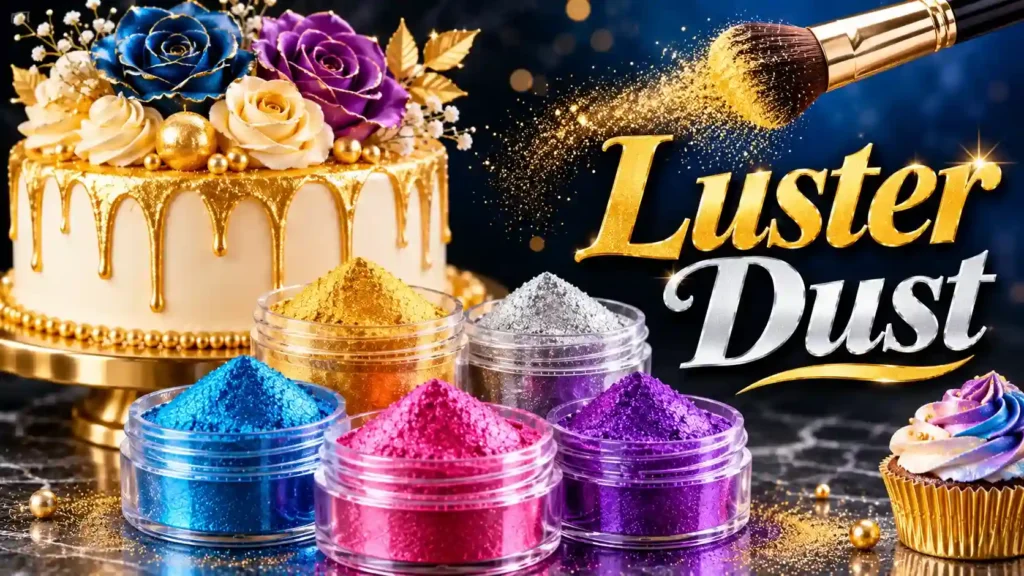
Luster dust is a fine, tasteless powder that adds a pearl or metallic shimmer to edible surfaces. Bakers brush it onto fondant, chocolate, gum paste, and royal icing to create gold accents, satin finishes, and photogenic highlights . Unlike sprinkles or sanding sugar, luster dust is nearly weightless. It catches light without adding texture or sweetness.
The powder itself is not a single ingredient. Edible luster dust typically contains mica-based pearlescent pigments, titanium dioxide, iron oxide, and food-grade color additives . These ingredients are approved for food use when the product is labeled correctly. The problem is that many products sold as “luster dust” are not edible at all.
The Safety Rule That Separates Professionals from Amateurs
The FDA has issued a direct warning: decorative glitters and dusts sold as “non-toxic” are not necessarily safe to eat . A product labeled “for decorative purposes only” may contain copper, lead, aluminum, or other heavy metals . In 2018, six children in Rhode Island became sick after eating cake decorated with toxic luster dust.
Here is the rule that matters: Look for the word “edible” and a full ingredient list. If the label says “non-toxic” but lists no ingredients, do not put it on food. If it says “for decoration only,” remove it before serving . Edible products will state “edible” clearly and include ingredients like mica, titanium dioxide, and FD&C colors.
| Label Wording | Safe to Eat? | What to Do |
| “Edible” + ingredient list | Yes | Use freely on food |
| “Non-toxic” + no ingredients | No | Do not apply to food |
| “For decorative purposes only” | No | Remove before serving |
| “Food grade” + ingredients | Usually yes | Verify “edible” is also stated |
Luster Dust vs. Highlighter, Petal, and Disco Dust
Not every shimmering powder works the same way. Using the wrong type gives weak results or ruins the surface.
- Luster dust delivers a soft pearl sheen. It is the most versatile option for fondant, chocolate, and cookies .
- Highlighter dust creates a bright, opaque metallic finish. Use it when you want solid gold or silver, not a subtle glow .
- Petal dust has a matte finish and deep color. It is designed for sugar flowers, not for shine .
- Disco dust contains larger flakes that sparkle like glitter. It works on cake sides and cupcakes but feels gritty on smooth chocolate .
Choose luster dust when you want elegance. Choose highlighter dust when you want mirror-like metal. Choose disco dust when you want visible sparkle.
Dry Brushing: The Fastest Way to Add Shimmer
Dry brushing is the technique most decorators reach for first. It works on any surface that is completely dry and firm.
Steps for perfect dry brushing:
- Pick a soft, wide brush. A clean makeup blush brush works better than most “cake brushes” .
- Tap the brush into the jar lid—not the jar itself. You want a whisper of powder, not a clump.
- Tap off excess against the rim.
- Brush in one direction with light pressure. Build two or three thin layers instead of one heavy coat.
Dry brushing works beautifully on fondant, modeling chocolate, and royal icing that has hardened for at least six hours . It fails on wet buttercream, soft ganache, or any surface that still feels tacky. American buttercream develops a thin crust after 15 to 30 minutes, which is enough for a gentle shimmer . Swiss or Italian meringue buttercream stays soft—do not dry brush those.
Wet Painting: How to Get Solid Metallic Gold and Silver
When you need opaque, mirror-like metal, dry dust alone will not deliver. You need to mix luster dust with a clear liquid and paint it on.
The mixing rule: Use clear alcohol—vodka, Everclear, or lemon extract. Never use water. Water softens fondant, creates streaks, and does not evaporate cleanly .
The ratio: Start with ½ teaspoon of luster dust in a small dish. Add alcohol one drop at a time until the mixture looks like nail polish. If it is too thick, add another drop. If it is too thin, add more dust.
Paint with a soft round brush. Let the first coat dry for two to three minutes, then apply a second coat for full coverage. The alcohol evaporates completely, leaving only the metallic pigment behind .
For the brightest possible gold or silver, use a highlighter dust instead of luster dust. Highlighter dust is opaque and covers the base color completely .
Luster Dust on Chocolate: A Different Surface, A Different Rule
Chocolate behaves differently from fondant. It is oil-based, not water-based, and it sets firm at room temperature.
You can dry brush luster dust directly onto set chocolate. The natural oils in chocolate give the powder enough grip to stay in place . For a stronger metallic effect, paint with the alcohol mixture. The alcohol evaporates before it can seize the chocolate.
One advanced technique: dust the inside of a candy mold with luster dust before pouring melted chocolate. Once the chocolate hardens and releases, the surface already has a perfect metallic shine . This works especially well for chocolate hearts, bonbons, and molded truffles.
Cookies and Royal Icing: Where Luster Dust Shines Brightest
Royal icing is the best surface for dry brushing because it dries hard and smooth. The pigment sits on top and catches light cleanly .
Wait until the icing is fully cured—at least six to eight hours, ideally overnight. Soft icing underneath will show every brush stroke and look muddy.
For painted details on cookies, mix luster dust with vodka or clear extract. Paint monograms, borders, or lace patterns with a fine brush. The paint dries in under a minute and leaves no taste.
White luster dust on white royal icing creates a subtle pearl effect that looks expensive without being flashy. Gold on white is classic. Silver on dark chocolate icing is striking .
Buttercream: The Honest Truth About Shimmer
You can shimmer buttercream, but only if it crusts. American buttercream forms a thin skin after 15 to 30 minutes at room temperature. Once that skin forms, you can dry brush gently with a soft brush .
Do not dry brush Swiss meringue or Italian meringue buttercream. These stay soft and will smear. Instead, paint accents with the alcohol method or use disco dust sparingly on edges.
If you need all-over shimmer on soft buttercream, airbrushing is the only reliable method. Mix ¼ teaspoon luster dust with 1 tablespoon clear alcohol, strain through a coffee filter, and spray in light passes from 6 to 8 inches away .
Airbrushing Luster Dust: Professional Results at Home
Airbrushing gives the most even, flawless shimmer possible. It is how large wedding tiers get that uniform pearl finish.
The mix: ¼ teaspoon luster dust to 1 teaspoon high-proof alcohol. Stir right before loading—the powder settles fast .
The technique: Hold the airbrush 6 to 8 inches from the surface. Use light, overlapping passes. Keep the gun moving constantly. Shake the cup every 30 seconds to keep the powder suspended.
Cleanup matters: Mica particles dry inside the nozzle and clog it permanently. Flush the airbrush with straight alcohol immediately after use, then flush again .
Common Mistakes That Ruin the Finish
- Using water instead of alcohol. Water makes luster dust clumpy and sticky. It also softens fondant and creates streaks .
- Brushing wet buttercream. The powder sinks in and disappears. Wait for a crust.
- Skipping the ingredient check. “Non-toxic” does not mean edible. Always verify.
- Overloading the brush. A heavy coat looks chalky. Thin layers always beat one thick pass.
- Touching the surface too soon. Painted details need two to three minutes to dry. Dry-brushed surfaces need a light touch until the powder settles.
Storing Luster Dust for Maximum Shelf Life
Keep luster dust in its original jar with the lid sealed tight. Moisture is the enemy—it turns powder into clumps. Store jars in a cool, dark place away from the stove or dishwasher.
If clumps form, break them up with a clean toothpick or shake the sealed jar vigorously. Do not add anything to “fix” clumped powder. If the powder smells strange or changes color, discard it.
Edible luster dust typically stays usable for two to three years when stored properly. Write the purchase date on the jar so you remember.
Frequently Asked Questions
Can I use luster dust on whipped cream?
No. Whipped cream is too wet and soft. The powder sinks in and vanishes. Use sanding sugar or a stabilized frosting instead.
Is all gold luster dust edible?
No. Gold is one of the most common colors found in non-edible decorative products. Always check the label for “edible” and an ingredient list. If it says “for decoration only,” do not eat it .
What can I use instead of alcohol to mix luster dust?
Lemon extract or clear vanilla extract works. Both contain alcohol that evaporates, though they dry slightly slower than vodka . Do not use water.
How long does painted luster dust take to dry?
The alcohol evaporates in 30 to 60 seconds. Wait two to three minutes between coats. The surface is fully set within five minutes .
Can I put luster dust in the refrigerator?
The decorated item can go in the refrigerator after the dust is fully dry. Condensation is the risk—if moisture forms on the surface, the powder may speckle. Bring the item to room temperature before serving.
Does luster dust have a taste?
No. Edible luster dust is tasteless. If you notice a metallic or chemical taste, the product may not be food-grade. Stop using it.
Your Next Step: Check Your Jars Right Now
Go to your pantry. Pick up every jar of shimmer powder you own. Turn it over. Read the label.
If it says “edible” and lists ingredients, you are ready to create. If it says “non-toxic” or “for decoration only,” put it in a separate box labeled DO NOT EAT. Your visitors entrust their security to you.That trust is worth more than any gold finish.
Now pick one technique from this guide—dry brushing on a cookie, painting a chocolate, airbrushing a cake—and try it this week. The first attempt does not need to be perfect. It needs to be safe, and it needs to be yours.